Graphite fishing rods typically perform better than other materials such as fiberglass and composite rods. These rods are tough and even tougher than the materials mentioned, and it can give you the power you need to battle it out with fish. It can get you your next big catch. In addition, these rods are lightweight, and you can expect to arrive home feeling less stressed even after an entire day of fishing. The top-level design of a graphite Rod gives more sensitivity so you can easily sense when the fish are biting. Graphite rods can give you a superior fishing experience if you use it correctly; if not, they will snap, leaving you with no catch. It is crucial to know how to repair a broken graphite fishing rod if you own one.
In the rare instance that your graphite fishing rod gets broken, you will know how to apply emergency repairs so it will be in tiptop shape in no time.
Caring and maintaining your graphite fishing Rod- how to repair a broken graphite fishing rod
Caring for your rod and reel in different conditions
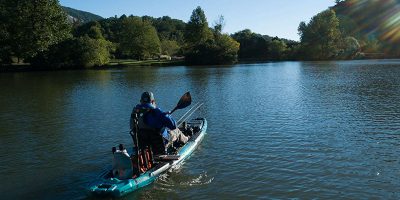
Aboard a Boat
the worst-case scenario when your fishing from a boat is breaking your fishing rod or destroying the rod guide. However, these components don’t break easily since they are extremely tough. However, do not tempt fate by being reckless and disorganized with your fishing rods. There is a place for everything, and everything should be in its place, as the old saying goes. Keep your fishing gear neatly tucked in a place that is safe when you’re not using it to keep it from bumping into other hard items or being accidentally stepped on. If your rod gets bruised, it will eventually result in serious damage.
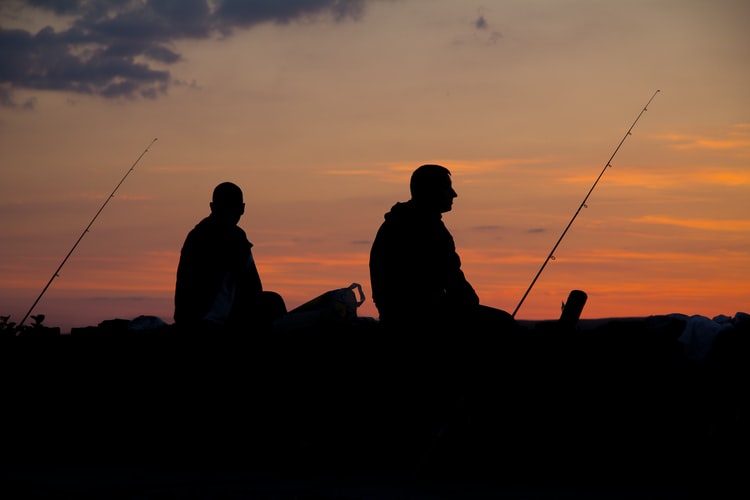
Casting on the banks
If you haphazardly put your rods, you can expect someone to bump or step on them eventually. Please don’t. People will not be conscious of the ground when they are walking on, so keep your rods in a safe place. Please keep them in a place where it is easily accessible such as leaning them against your tackle box.
When you’re casting from the banks, steer clear from hanging branches of trees or other overhead obstacles. When you bump your rod against tree branches or other hard items it will surely get bruised and weaken that part of the rod where it hit the object. The damage may seem minimal at first, but it can result in serious breakages later. It should be noted that fishes that manage to escape during the fight result from a broken rod that suffered damages before.
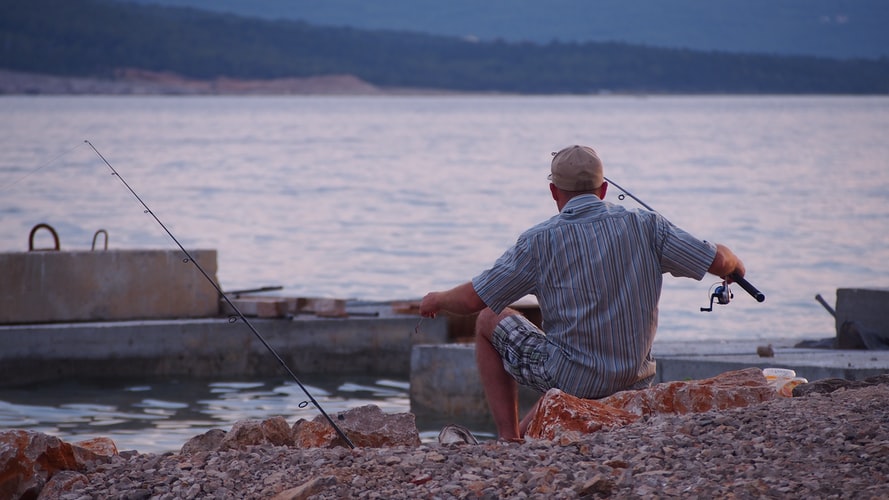
Wading in the Water
It would be best if you observed safety measures while fishing on the bank when you venture in the middle of waist-deep water. Be sure to keep your rod and reel safely secured. If you think it is all right to place them on the water, better think twice.
There are a lot of things going on while fishing, so you will not know what is happening to your fishing rods if they are on the water. The wave currents may drag them far from you or put stress on the rod tip. It is even worse in saltwater conditions since it gets into reel through the reel seats and other nooks and crannies. Saltwater is known to corrode fishing gear, and you don’t want them inside your reels.
Fighting it out with the fish
On board a Boat
Regardless how desperate you are to haul in the fish, listen to expert fishermen, and never utilize the high stick approach when it comes to your rod. The optimum angle you should get out of your rod must not go beyond 90° when trying to tame a struggling fish. A majority of rods that break during a fight with the fish result from high sticking and recklessness on the part of the angler.
Wading in the waters
Anglers who utilize fly rods must remember that they will need more preparation to safely bring in the fish. They don’t know what might happen if they get into a fight with a fish when they wade in waist-deep waters. Have an allowance for a bit more line to extend from the rod tip. It will usually be longer than the length of the rod itself so you can haul in the fish closer to you. That additional line will help your rod withstand the weight even if you pull the rod high up.
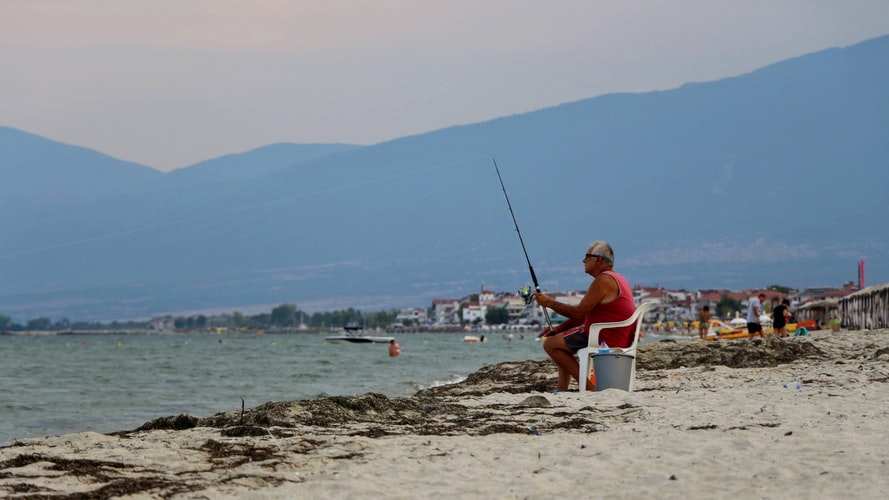
Safely hauling in your catch
A fish tends to weigh more in the water. It is crucial to note this, and you will manage to preserve a lot of rods. A 5-pound fish will weigh more while it is in the water. A majority of rods were broken because anglers were tempted to haul in their catch instead of utilizing a net. Avoid hauling in a fish in this manner unless your catch is lighter than 2 pounds.
Hauling in heavy fish puts a lot of pressure on the rod. This is made even worse when you apply the high stick maneuver and raise it more than 90° from the water.
Another negative habit is gripping the rod above the foregrip. You don’t want to do this move since you need the rod to be flexible enough. The Golden rule is to utilize a net if possible. This way, the fish won’t escape, and you won’t damage your rod.
Proper Care for Reel Seat
Do not utilize any kind of tool when you are tightening your reel seat. The tension from your fingers is enough to do the task.
Maintaining your Rod’s Finish
Regardless how exhausted you are, ensure that you clean your rod before storing them. Elements such as heat, humidity, and seawater can destroy your rod’s attractive finish. Store them in a place that is dry once you’re done cleaning. Applying paste wax treatment occasionally is good too.
Storing the Rods
Boat Storage
Utilizing rod lockers on your boat is the most effortless way to keep your fishing rods and other equipment safe. Just be cautious against the rod moving around and bumping into each other as this can result in damage to the rod blanks, especially in turbulent waters.
Utilizing gunwale mounted racks for rods gives you access to your fishing gear since they are mounted off the deck. Just make extra steps to keep them away from heavy objects.
A vertical rod back is another option for storage if you can keep them intact and safe from getting hit while you’re casting.
Garage storage
Protect your fishing rods with a heavy-duty rod locker when you store it in the garage. This is to secure them from getting smashed by heavier objects. Secure rods in a corner unless you plan on purchasing new rods in the next angling season.
Make sure you put your fishing rods far from heat sources. These will include the water heater and other heavier appliances since the heat emitted by these can destroy the finishing and other components that make the rod.
In the House
Store fishing rods in a secure and dry place in your home. Keep them away from bulky objects such as guns and other sporting gears, tools, and many others. Keep the rods in their space or enclose them in tubes are also options.
Top tips on how to repair a fishing Rod– how to repair a broken graphite fishing rod
Saving the Rod
How to repair a broken graphite fishing rod? If you broke your rod, it is not a good idea to simply throw it away. In some cases, the damage will only be minimal. You might find that your rods will be damaged near the guide areas. These kinds of damages can be repaired.
The Reel
How to repair a broken graphite fishing rod? The first step you should do is take off the real from the rod, clean it, and test it. If the reel still looks and works like new, you can proceed further in its repair.
The Break
How to repair a broken graphite fishing rod? The strongest part of the rod is the butts, and if it breaks, there are two reasons for it; the first is exposure to cold, and the other is stress. This can happen when the drag on the reel is set too heavily, and the line is too heavy, and you pull too hard to haul in a big fish. This damage can happen when the drag is set right the line at the right poundage, and the rod is very cold. Some reels are rated for up to 10 pounds, and some rods are rated for up to 12 pounds.
Repairing the Break
How to repair a broken graphite fishing rod? It is crucial to examine the rod tip if it is seated tightly in the butt of the rod. Mark the area in the rod where you want to move the guide to. You can remove the guide by cutting the whipping along the guide’s foot with a tool knife. Scrape off the rest and make sure the ferrule fits in the miter box. Smooth the edge utilizing sandpaper and test the tip seating in the ferrule one more time before whipping.
Whipping
How to repair a broken graphite fishing rod? The process of whipping reinforces the ferrule, so the graphite doesn’t crack when stressed. Whipping is utilized to attach the guides and hook. This is done by twisting the sturdy thread around the rod’s shaft, the guides’ feet, and the foot of the hook. Afterward, coat them with a resin or lacquer.
Whipping the Ferrule
How to repair a broken graphite fishing rod? You don’t need a lot of equipment, just a strong thread, some tape, a tool knife, and a clear lacquer or resin.
You can utilize a wooden tool to whip the rod. First off, cut a piece of thread 6 inches in length and put it aside for later use.
Afterward, take the rod with one hand and thread and place the two together and grip the thread in place with one finger.
Wind the thread around the shaft of the butt over the top and of the thread and wrap continuously until you have wrapped the entire length of the ferrule.
Next, take the 6-inch piece of thread you have put aside and create a loop.
Put the loop on the shaft and wrap the thread on top of the loop up to eight times.
Cut the whipping thread making sure there is some extra length, and run the and through the loop.
Grip the ends of the loop sticking out of the whipping and pull the whipping thread through the whipping. It is not required to pull all the thread through the whipping but just enough, so once you cut the thread is under the whipping, and you can discard the scraps.
Whipping the Guide
Take a piece of tape and place it at the end of the foot guide, and tape the guide area where you want it placed on the shaft. Put this thread on the other side of the shaft and hold it firmly with your finger making your first wrap in front of the guide, wrapping behind the guide on the top area of the foot. You begin and end the whipping on the other side of the shaft from the foot, and the wrapping will hold the thread firmly. Wrap until you have covered the foot completely.
Once again, take the 6-inch piece of thread and create a loop.
Put the loop on the shaft area and wrap the thread on top of the loop up to eight times.
Put the whipping thread making sure there are additional thread and Rod and through the loop.
Grip the ends of the loop sticking out of the whipping and tie the thread through the whipping. It is not required that you tag all the threads through the whipping but just enough so that you can cut the thread under the whipping and remove the scraps.
The ferrule is now way up, and all you need to do is coat the entire thing with resin or clear lacquer, and your repair is done.
The Finished Fishing Rod
How to repair a broken graphite fishing rod? Once the lacquer has set the reel back and set the fishing line in the right poundage on the reel, you are ready to go on an angling adventure. Dependent on how fast the resin or lacquer settles, this repair will last an hour.
Final thoughts
If you are a passionate angler, you probably invested in a graphite fishing rod. This material is known to be tough and delivers in any angling situation. It would help if you especially had a graphite Rod when you are targeting heavier fish. In the rare case that your graphite rod snaps or gets damaged, it is important to know how to repair a broken graphite fishing rod to get it back in optimum condition. You may also want to follow the necessary care and maintenance so your graphite rods will be protected at all times.